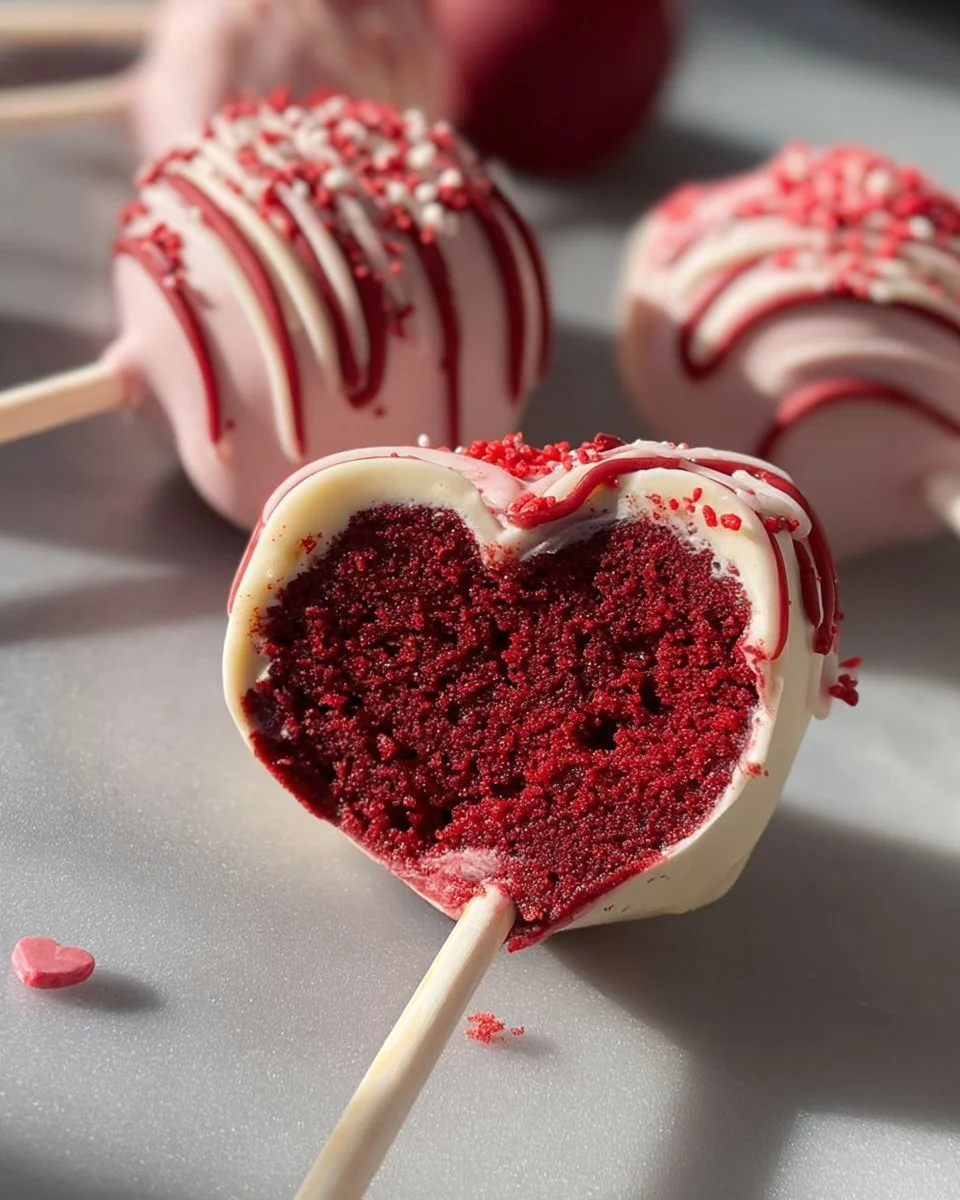
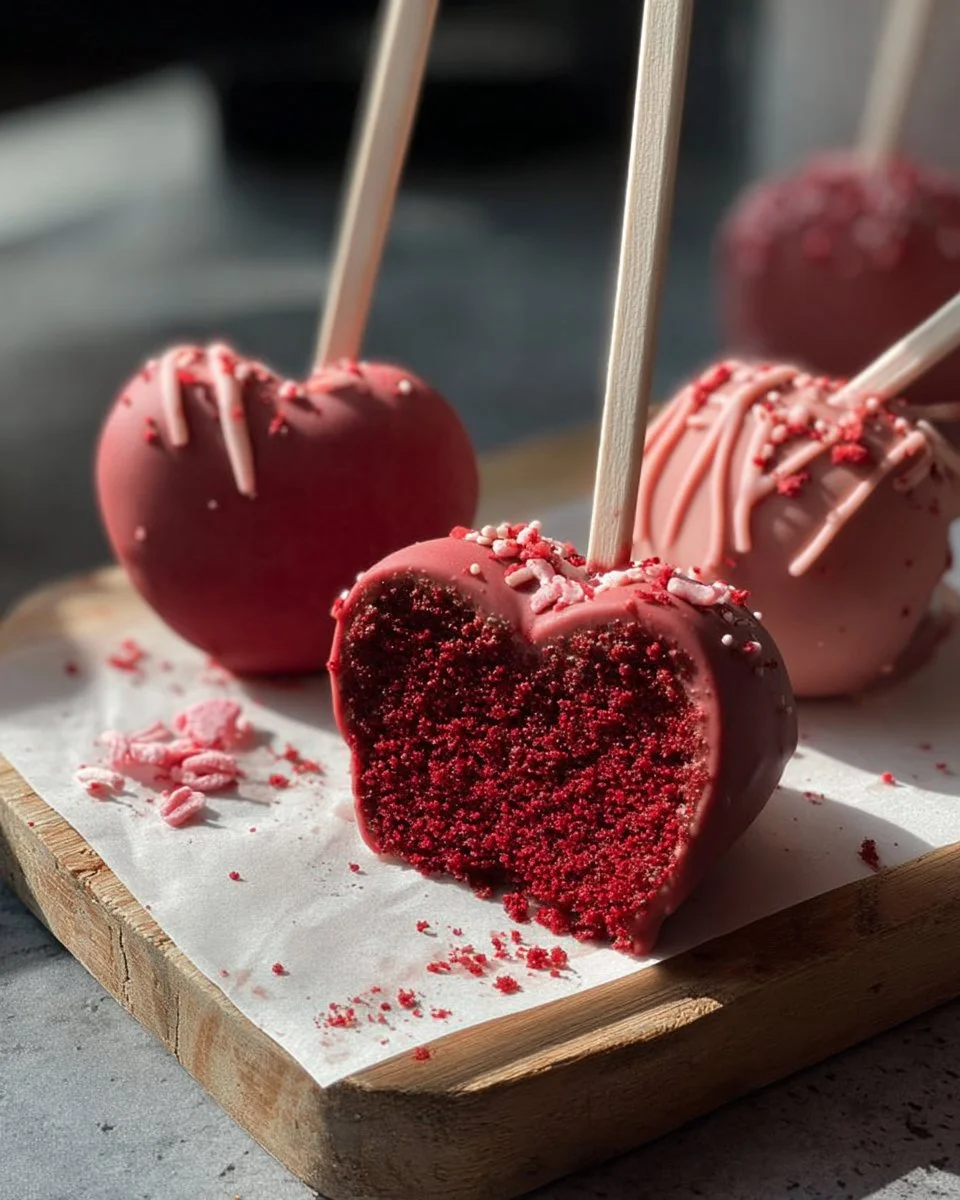
Heart-Shaped Red Velvet Cake Pops
I still remember shaping my first heart-shaped red velvet cake pop for a school bake sale — everyone smiled before they even took a bite. These cake pops turn a classic red velvet loaf into charming little hearts that work perfectly for Valentine’s Day, bridal showers, or any party where cuteness counts. They’re fast to make (thanks to a boxed mix), kid-approved, and endlessly customizable. If you like small, sweet bites, you might also enjoy this easy 2-ingredient banana donut holes as another crowd-pleasing option.
Why you’ll love this dish
Heart-shaped red velvet cake pops give you all the flavor of red velvet in a neat, handheld package. They’re easier and quicker than layered cakes, make great favors, and travel well when packed carefully. Because you use cake crumbs plus a creamy binder (cream cheese and marshmallow creme), each pop is moist, slightly tangy, and stable enough to dip without falling apart. They’re perfect for parties where presentation matters but time is short.
How this recipe comes together
- Bake a simple red velvet sheet cake from a boxed mix.
- Crumble the cooled cake until it’s fine and uniform.
- Add softened butter, cream cheese, and marshmallow creme to bind the crumbs into a moldable dough.
- Press the mixture into heart-shaped silicone molds and chill until firm.
- Insert sticks, dip each pop in melted candy coating, and decorate.
This quick flow makes it easy to break the work into two sessions: bake/crumble first, then shape/dip later.
What you’ll need
- 1 box Red velvet cake mix
- 1 cup Milk (Can also use water or plant-based milk)
- 3 Eggs
- 2 tbsps Unsalted butter (softened)
- ½ cup Cream cheese (softened)
- ½ cup Marshmallow creme
- 24 oz candy melts (I used pink. Feel free to use other colors)
Step-by-step instructions
- Preheat the oven to 350°F. Line a baking pan with parchment or spray it with baking spray.
- In a large bowl combine the red velvet cake mix, milk (or water), and eggs. Start your hand mixer on low for 30 seconds, then increase to medium and mix for 2 minutes until smooth.
- Pour the batter into the prepared pan and bake according to the box instructions. Check doneness with a toothpick at the center; it should come out clean or with a few moist crumbs.
- Let the cake cool completely on a wire rack. Cooling fully prevents a gummy crumb when you mix.
- Crumble the cooled cake into a stand mixer bowl. Pulse or mix until the crumbs are very fine. You can also use a food processor in short bursts.
- Add the softened butter, cream cheese, and marshmallow creme to the crumbs. Mix on low until the mixture comes together into a pliable dough. It should hold shape when pressed. If it’s too wet, add a few more crumbs; if too dry, add a teaspoon of cream cheese.
- Press the mixture firmly into heart-shaped silicone molds. Pack tightly so the pops don’t crack after chilling. Smooth the backs with a spatula.
- Cover and chill in the freezer or refrigerator until firm — at least 30 minutes (longer is fine).
- Melt candy melts in a microwave-safe bowl in 20–30 second bursts, stirring between each interval, or melt over a double boiler. Heat just until smooth — overheating can make coatings grainy.
- Remove hearts from molds and insert lollipop sticks into the base of each heart. If the stick won’t stay, dip the tip into melted candy melts then push into the heart and let set.
- Dip each cake pop into the melted candy coating, tapping gently to remove excess. Place on parchment to set. Add sprinkles or drizzles while the coating is still wet.
- Let the coating set completely at room temperature or pop into the fridge for a few minutes to speed things up. Handle gently to avoid fingerprints and cracks.
Best ways to enjoy it
Serve these cake pops upright in a foam block or a decorative jar filled with candy or shredded paper. They make a charming dessert table centerpiece and are easy to hand out as edible favors. For a contrasting savory option at a party, offer small plates of 4-ingredient chicken pot pie bites alongside the sweets — the rich, creamy pops pair nicely with a warm, savory mini dish. For drinks, pair with coffee, hot chocolate, or a sparkling rosé for grown-ups.
How to store & freeze
- Short term: Store finished cake pops in an airtight container in a single layer. Because these contain cream cheese, keep them refrigerated and use within 3–4 days.
- Freezing: Place fully set pops on a baking sheet to flash-freeze for 1 hour. Transfer to a freezer-safe container or bag with parchment between layers. Freeze up to 2 months. Thaw in the refrigerator overnight before serving.
- Food safety: Don’t leave cream-cheese-containing treats out at room temperature for more than 2 hours.
Helpful cooking tips
- Use silicone heart molds for easy unmolding and crisp shapes. Metal or rigid plastic molds make release harder.
- Chill thoroughly before inserting sticks and dipping; chilled pops are less likely to crumble or slip off the stick.
- When melting candy melts, stir frequently and use short bursts in the microwave. A grainy or overheated coating will crack.
- To secure sticks: dip the stick tip in coating before inserting into the pop, then let set briefly in the fridge.
- If the crumb mixture feels too soft, add a tablespoon of dry cake crumbs at a time until it firms up — don’t overdo liquid additions.
- Avoid condensation: if freezing, seal tightly to prevent ice crystals that can cause soggy texture after thawing.
Creative twists
- Flavor swaps: swap candy melts for white chocolate tinted with oil-based color for a more chocolatey finish. Add a teaspoon of vanilla or orange zest to the binder for a flavor lift.
- Dietary swaps: use a gluten-free boxed red velvet mix and dairy-free cream cheese + plant-based milk and butter substitutes to make them vegan-ish — note texture may vary.
- Decoration ideas: try metallic drizzle, edible glitter, chopped nuts, or mini heart sprinkles. Use cocoa powder or freeze-dried strawberry dust for natural color and flavor accents.
- Shape variations: if you don’t have heart molds, roll into balls and dip for classic cake pops.
Helpful answers
Q: How long does each step take?
A: Baking a boxed cake usually takes 20–30 minutes. Cooling/crumbling is 20–30 minutes. Mixing and molding about 20 minutes. Chilling 30+ minutes. Dipping and decorating typically take 30–45 minutes, depending on how many you do at once.
Q: Can I use homemade red velvet cake instead of a boxed mix?
A: Yes. Use the same method: bake, cool, crumble, and bind. Homemade cake sometimes yields a moister crumb, so you may need slightly more crumbs or less binder to reach a moldable consistency.
Q: My coating cracks after setting. How can I prevent that?
A: Cracks usually come from temperature shock. Don’t refrigerate immediately after dipping; let the coating set at room temperature first. Also avoid overheating the candy melts and try to dip in one smooth motion.
Q: Can I make these ahead for an event?
A: Absolutely. Make them up to 2 days ahead and store refrigerated. For longer prep, freeze fully set pops (up to 2 months) and thaw in the fridge the night before your event.
Q: Are candy melts the same as chocolate?
A: Not exactly. Candy melts are confectionery wafers that melt smoothly and set without tempering, making them easier for dipping. Real chocolate requires tempering for a shiny, stable finish but delivers deeper flavor.
Conclusion
These heart-shaped red velvet cake pops are a sweet, crowd-pleasing way to celebrate any special occasion. If you want a step-by-step recipe with a video to follow along, here’s a helpful resource: Red Velvet Cake Pops (Heart-shaped) | Dessert Recipe with Video.
Print
Heart-Shaped Red Velvet Cake Pops
- Total Time: 50 minutes
- Yield: 24 servings
- Diet: Vegetarian
Description
Delicious heart-shaped red velvet cake pops that are perfect for Valentine’s Day, bridal showers, or any party where cuteness counts.
Ingredients
- 1 box Red velvet cake mix
- 1 cup Milk (or water or plant-based milk)
- 3 Eggs
- 2 tbsp Unsalted butter (softened)
- ½ cup Cream cheese (softened)
- ½ cup Marshmallow creme
- 24 oz Candy melts (pink or any color)
Instructions
- Preheat the oven to 350°F. Line a baking pan with parchment or spray it with baking spray.
- In a large bowl combine the red velvet cake mix, milk (or water), and eggs. Mix for 2 minutes until smooth.
- Pour the batter into the prepared pan and bake according to the box instructions. Let the cake cool completely on a wire rack.
- Crumble the cooled cake into fine crumbs.
- Add softened butter, cream cheese, and marshmallow creme to the crumbs and mix until it forms a pliable dough.
- Press the mixture into heart-shaped silicone molds and chill until firm (at least 30 minutes).
- Melt candy melts and dip each cake pop, decorating as desired.
- Let the coating set completely before serving.
Notes
Store finished cake pops in an airtight container in the fridge for up to 3-4 days. Can be frozen for up to 2 months.
- Prep Time: 20 minutes
- Cook Time: 30 minutes
- Category: Dessert
- Method: Baking
- Cuisine: American